

Looking for a way to display your favorite metal wall art without damaging your walls? Learn how to hang metal wall art without nails effortlessly! Whether you’re renting or simply want to preserve your walls, there are creative, nail-free solutions to showcase your artwork. From adhesive hooks to magnetic strips, these methods are sturdy, easy to apply, and leave no marks behind. Perfect for lightweight and medium-sized pieces, these options offer a sleek and secure way to enhance your space without hammering a single nail. Discover the best tools and techniques to hang your metal masterpieces with ease, keeping your walls flawless and your décor stunning. Explore hassle-free, damage-free decorating ideas today!
Choosing the Right Metal Art For Nail-Free Display

The journey begins with the art itself. Not all metal pieces are created equal when it comes to nail-free solutions. Weight and size are critical factors; lighter or medium-sized items are friendlier to adhesive-based setups, while heavier, intricate pieces may test their limits. Designs with flat backs lend themselves beautifully to adhesive options, making secure application straightforward.
Beyond physical attributes, the art must harmonize with its intended environment. Whether it’s a gleaming geometric design for a minimalist living room or a rustic wrought-iron motif for a cozy nook, let the space dictate your choice.
Tools And Materials: The Arsenal Of Nail-Free Hanging

Every artist needs their tools, and hanging metal art without nails is no exception. Equip yourself with these essentials:
- Heavy-Duty Adhesive Strips: Choose strips with specified weight limits suitable for your artwork.
- Industrial Double-Sided Tape: A formidable choice for smaller, lightweight pieces.
- Rubbing Alcohol: Ensures a clean surface for optimal adhesion.
- Measuring Tape: Precision is key.
- Level Tool: Because no one wants crooked art.
With these tools at your disposal, you’re ready to conquer the challenge of damage-free décor.
Preparing Your Wall: The Unsung Hero Of Success
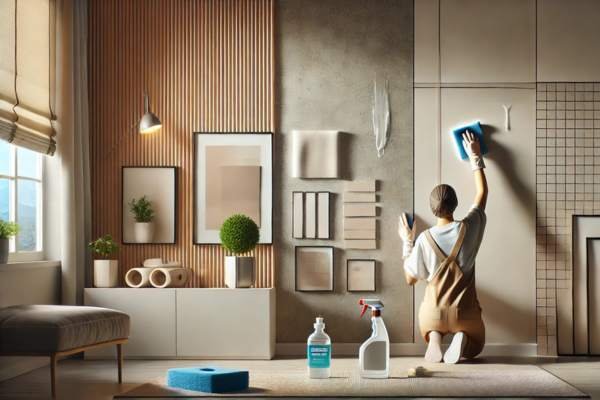
Adhesive fails on dirty walls. Dust, grease, or even subtle textures can undermine its sticking power. Begin by wiping down your wall with a damp cloth, allowing it to dry thoroughly. Follow up with a swipe of rubbing alcohol to remove unseen residue.
For walls with texture, opt for adhesive solutions specifically designed for uneven surfaces. These specialized pads or strips adapt to the contours, creating a firm bond despite the challenge.
Finding The Perfect Spot: Artful Placement
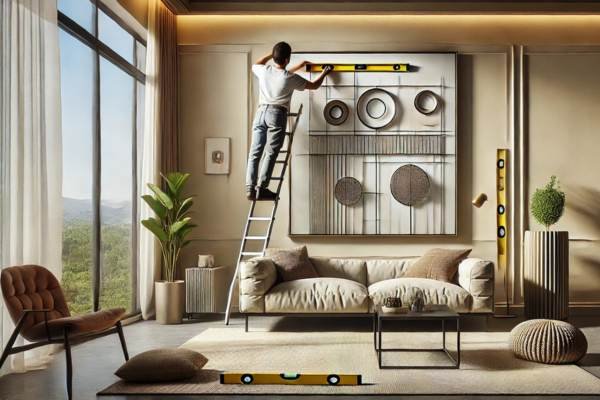
The positioning of your metal choose wall art determines its impact. A poorly placed piece, no matter how exquisite, loses its magic. Start by assessing the room. Does the art act as a focal point? Is it visible from key angles?
Once decided, use masking tape to outline the placement temporarily. Step back to analyze the arrangement and adjust as needed. Avoid spots prone to extreme humidity or direct sunlight—both can compromise adhesives over time.
The Unrivaled Benefits Of Nail-Free Solutions
Why opt for nail-free methods? Because the advantages are as clear as a sunlit morning:
- Damage-Free Walls: Your sanctuary remains unmarred, whether you’re experimenting or relocating.
- Easy Adjustments: Redecorate at will without fretting over unsightly holes.
- Economical: Save money on repair kits and installation tools.
These benefits culminate in a decorating solution that’s both flexible and forward-thinking.
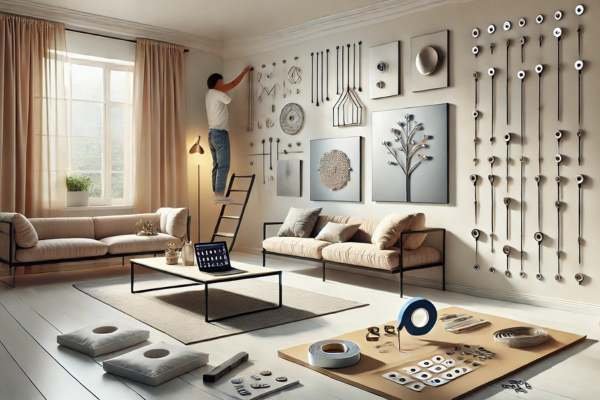
A Spectrum Of Nail-Free Options
Metal art demands robust, reliable alternatives to nails. Explore these choices:
- Adhesive Strips: A go-to for lightweight and medium pieces.
- Double-Sided Tape: Quick and effective for smaller creations.
- Velcro Fasteners: Adjustable and reusable, ideal for temporary setups.
Each option caters to specific scenarios, allowing you to tailor the solution to your art’s unique demands.
Weight Capacity Matters
A misjudged weight can spell disaster. Pay attention to the weight specifications on adhesive packaging. If in doubt, overcompensate by using multiple strips. Distribute the weight evenly to avoid pressure points, which can lead to adhesive failure.
Strip Placement: The Key To Stability

Placement is paramount. For larger pieces, affix strips at key structural points—corners and the center. Press firmly for a strong bond, and always allow curing time as per the manufacturer’s guidelines before hanging.
Double-Sided Tape: The Unsung Hero of Light Decor
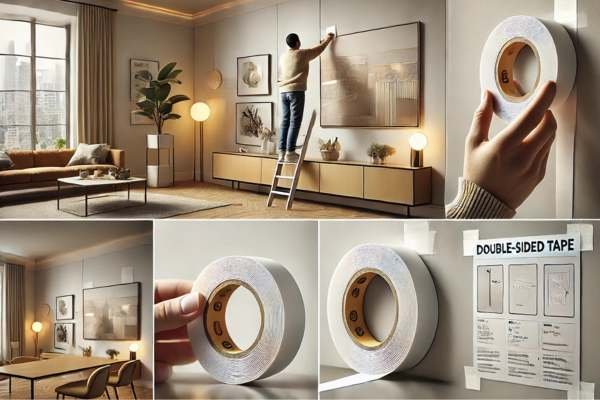
For art that’s as light as it is lovely, industrial-grade double-sided tape offers a no-fuss solution. Apply evenly across the back, ensuring uniform support. Avoid skimping—more tape equals greater reliability.
Step-by-Step Installation Guide
- Clean the Surface: Dust and oils are your enemies.
- Apply Adhesive: Attach strips or tape to the back of your art.
- Mark Placement: Use measuring tools to mark the ideal spot.
- Hang: Align carefully and press with conviction.
- Test: Give the art a gentle tug to confirm its security.
Safeguarding Walls And Art

Adhesives are kind, but they’re not infallible. Protect your walls by choosing products labeled as wall-safe. When it’s time to remove them, peel slowly, pulling parallel to the wall to avoid paint damage.
Maintenance And Care
Metal art deserves attention. Dust regularly with a microfiber cloth, steering clear of abrasive cleaners. For deeper cleaning, use mild soap and water, ensuring the adhesive areas remain dry. Periodic checks of the adhesive bond will keep your art—and your peace of mind—secure.
Frequently Asked Questions
1. Can I Hang Metal Wall Art Without Nails?
Yes, you can hang metal wall art without nails by using adhesive solutions that are both strong and wall-safe. Options like heavy-duty adhesive strips, industrial double-sided tape, or Velcro fasteners provide reliable alternatives for lightweight to medium-weight art. These methods ensure your walls remain pristine while securely displaying your artwork. Proper preparation, such as cleaning the surface and using the right tools, is key to success.
2. What Adhesives Work Best?
For the best results, choose heavy-duty adhesive strips designed for specific weight limits, industrial-grade double-sided tape for lighter pieces, or Velcro-style fasteners for versatility and easy adjustments. Always check the weight capacity of the adhesive and ensure it matches your metal art to avoid mishaps.
Final Thoughts
Hanging metal wall art without nails is a creative and hassle-free way to enhance your space. By using adhesive hooks, double-sided mounting tape, or magnetic strips, you can securely display your art without damaging walls. These methods ensure a clean, professional look while being renter-friendly. Always consider the weight of your piece and choose the right tools for a firm hold. Hanging metal wall art without nails not only protects your walls but also offers flexibility in arranging and rearranging your décor effortlessly. Explore these options to showcase your art stylishly and damage-free.